North Star 2-Stage
I had been wanting to build a multi-stage rocket for a while since I hadn't even built an Estes Comanche. There are several kits available, several from Public Missiles Limited and another I found from Rocket Dynamic Systems.
After the fragility of the phenolic tubing was so drastically demonstrated with my Aurora and Bull Dog kits, I wanted to stay away from P.M.L. Also, Mike Gillette of Rocket Dynamic Systems was so helpful and confident about his rockets that I decided to go ahead and buy his North Star 2-stage kit.
I was hurrying to finish this rocket in times for Balls '98 (August 1st) and so didn't finish the painting. Fiberglassing the entire body turned out to be more work than I expected and I didn't finish it as completely as my other rockets. It's unofficial name is The Unfinished Rocket.
The North Star maiden flight was at Balls 98. Unfortunately, the motor flew through the booster, battered the sustainer and proceeded to skywrite through its 4.5 second burn. The motor flying by itself got the loudest cheers at the launch! (The hose clamp was not enough to hold the single-use K500 in place.) The rocket is repairable, but is just sitting in my garage at the moment.
The Pictures
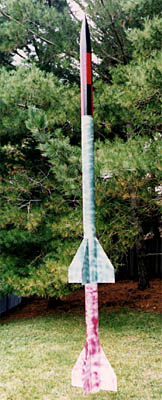
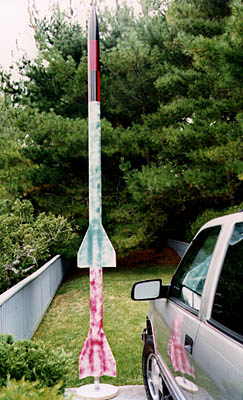
You can see that the payload section and nose are nicely finished and painted, but
the booster and main sustainer airframe of The Unfinished Rocket are still raw.
|
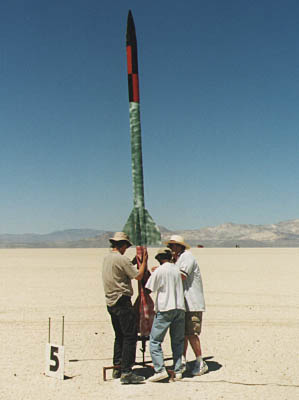
The North Star was assembled with the two motors, a K500 for the booster and a K250
for the sustainer, the two igniter wires run and the timer was enabled and the hatch screwed on.
Everything ready to go and ship-shape, or so I thought. (photo Andy Mazur) |
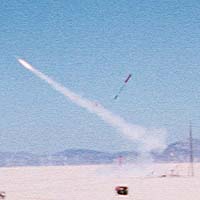
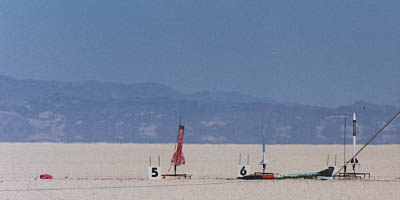
The picture on the left (photo Keith Godfrey) shows the booster still on the ground with the rocket motor streaking upward and to the left and the sustainer bounced up in the air! On the right is the sad rocket after the non-flight. The booster (red) is still on the left launch pad and the sustainer (green, red and black) is laying to the right.
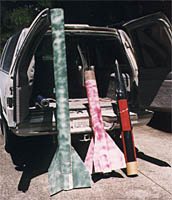 To the right you can see the three North Star pieces recovered.
They don't look too bad in this picture, but one sustainer fin is broken off and the rear end of the sustainer is badly damaged. The payload section is severely crimped.
This rocket actually survived well--a testament to fiberglassing, but the breaking of the
fin make it a major repair job.
At the moment, I don't want to look at this rocket, but hopefully I will get up the energy to repair it, or at least cut the unfired upper stage motor out of the rocket!
The Kit
The kit is made with soft Kraft paper tubing, which is easy to work with if you are careful, but needs fiberglassing to be strong enough. Also, the paper has a soft outer wrapping which starts coming off as soon as you try to sand the tubes. I ended up using 4" carbon fiber reinforcement along the fin roots and then fiberglassed the entire rocket with 4oz. fiberglass. That was quite a job, but the body tube now has a gratifying sturdiness without the brittle nature of P.M.L. phenolic.
The kit is reasonably well designed, but the instructions were rough. I had to get replacements for two centering rings where were too loose over the motor mount tube. Other than these glitches, it was a pretty standard high-power rocket.
The kit did not include provisions for a recovery system on the booster stage. I decided to use 1/2" nylon webbing for the recovery harness and Sky Angle parachutes (from The b2 Rocketry Company) so I didn't end up using the Rocket Dynamic Systems recovery components anyway.
To air-start the sustainer, I built a bay between two fins of the sustainer and am using an Olsen Advanced Electronics ez-timer to fire the second stage. These timers are nice and compact and the LCD display is comforting: you know exactly what the timers are set for and have a persistent continuity display.