Estes Nike Smoke
It was a surprise to me when I realized that Estes had gotten into mid-power rocketry with their Pro Series line. So, I had to build one of these rockets and ended up choosing the always popular Nike Smoke.
The Pictures
Construction went quickly and painting took by far the most effort in building this rocket.
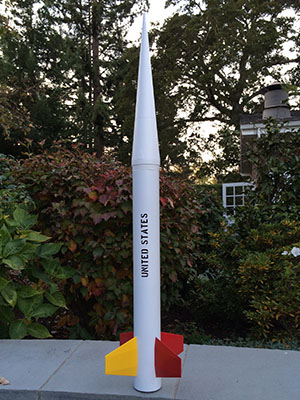
I decided to make the project of painting this rocket into a how-to video.
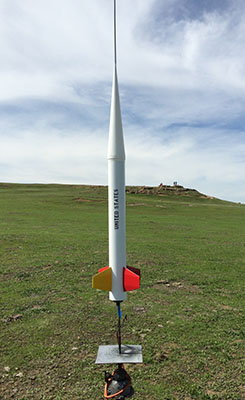
I finally flew this rocket at a LUNAR launch at Snow Ranch in Eastern California on March 8, 2014. Flying on grass? What a concept!
 |
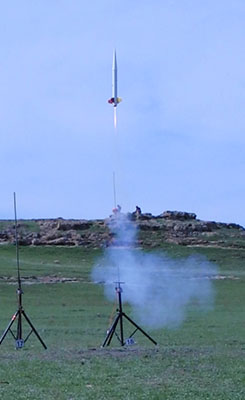 |
And it went zip!, right out of sight, on an AeroTech G80. A quick simulation suggests an altitude of 1500ft, but since I wasn't flying electronics, I have no idea how high it actually did go. It went out of sight, and I was unable to find it, but luckily some kind folks retrieving their own rocket found it and brought it back.
The Kit
I ordered the kit from Amazon, but it arrived with both ends of the body tube crushed and a crease at one of the fin slots. So, I decided to order a replacement tube from Estes directly.
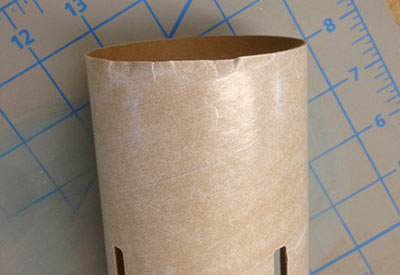
The replacement arrived very well-packed in peanuts in a cardboard box, and thus with no damage. I think the plastic bag is insufficient packaging for a rocket this large, but they partially make up for this with the after-sale service.

The kit contents are displayed above. It will be a nice change to build a rocket sitting down at a desk.
One thing that jumps out right away is the impressive detail on the nose cone. Not only does it have the compound taper we're used to, but there are also molded-on fine details such as rivet plates. A very nice touch!
The Build
I read through the instructions once then immediately began building. This kit goes together fast, with only pauses for the glue to set. Speaking of glue, most bonds are made with "yellow glue" (aliphatic resin), with some use of CyA and one use of epoxy for the motor retainer.
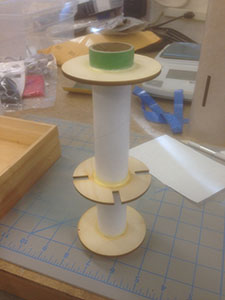
I was dissapointed by the sloppy fit of the centering rings on the motor mount tube. Two of the three CRs were also looser than I liked within the body tube. These CRs are laser cut, so I'm not sure why they couldn't be made with tighter tolerances.
 |
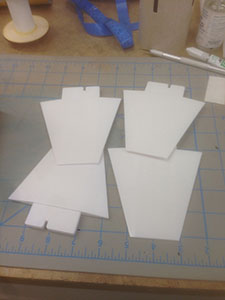 |
However, I was pleasantly surprised by the fit and sturdiness of the Nike fins. Each fin came in two pieces that fit together nearly perfectly with no need for trimming or sanding. I used CyA on the ribs before putting the fins together (as directed), then wicked in a bit of plastic adhesive from the outside while holding the edges together (my addition). (This was a lot easier than making Nike-style fins by hand.)
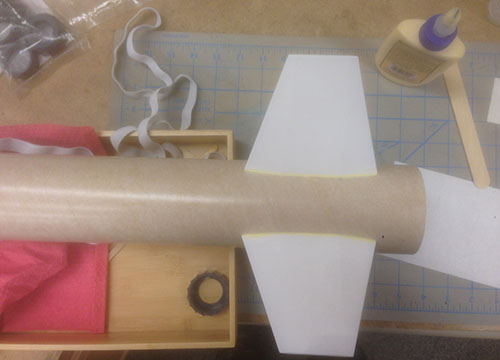
The Fins lock into a slot in the middle centering ring, so they can be installed all at once. Also, the instructions say use CyA (which I did) on the root, so installation goes very quickly. Finally, fin fillets of yellow glue finish off the fin root joint.
The kit goes together quickly and smoothly, leaving most of the work in the painting. Speaking of painting, I made video on finishing rockets to show the steps in finishing and some techiques to get good results.
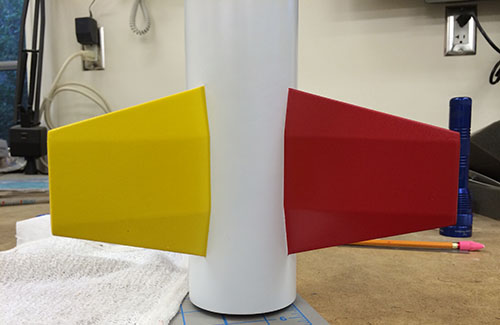
Despite a mishap due to a bad nozzle on the yellow spray paint can, it came out nicely. Be sure to watch the video for details.